Essentials to Securing Threats for Containerized Cloud-Native Applications
Nowadays, a containerized solution is a de facto standard in the cloud-native application development world. Tools like Docker, Containers, CRI-O, and Kubernetes are on-trend. Millions of development and architecture teams choose a container-based solution to build their product. All well-known cloud providers have numerous services and are based on Kubernetes, Docker, and other container orchestration platforms.
Tools and platforms are a fundamental part of the threat detection foundation. There are a lot of open-source tools that contain a lot of threat detection options. Below I-ve listed some tools that provide logic:
-
Static image vulnerability scanning
-
Configuration validation
-
Secrets scanning
Threat Detection for Containers Refcard contains the extended guide on securing threats for containerized cloud-native applications.
Clair
Clair is a static security scanner tool. It is based on Open Container Initiative (OCI) format. Clair validates and indexes the images against all well-known threats and vulnerability information sources, like CVE Tracker, Redhat security Data, and Debian Security Bug Tracker. Also, Clair provides an API for development integration purposes. It allows you to create your divers to extend and customize Clair functionality. Clair has several Indexer, matcher,notifier, or combo models. The easiest and fastest way to start is the combo model. In this way, it runs in a single process.
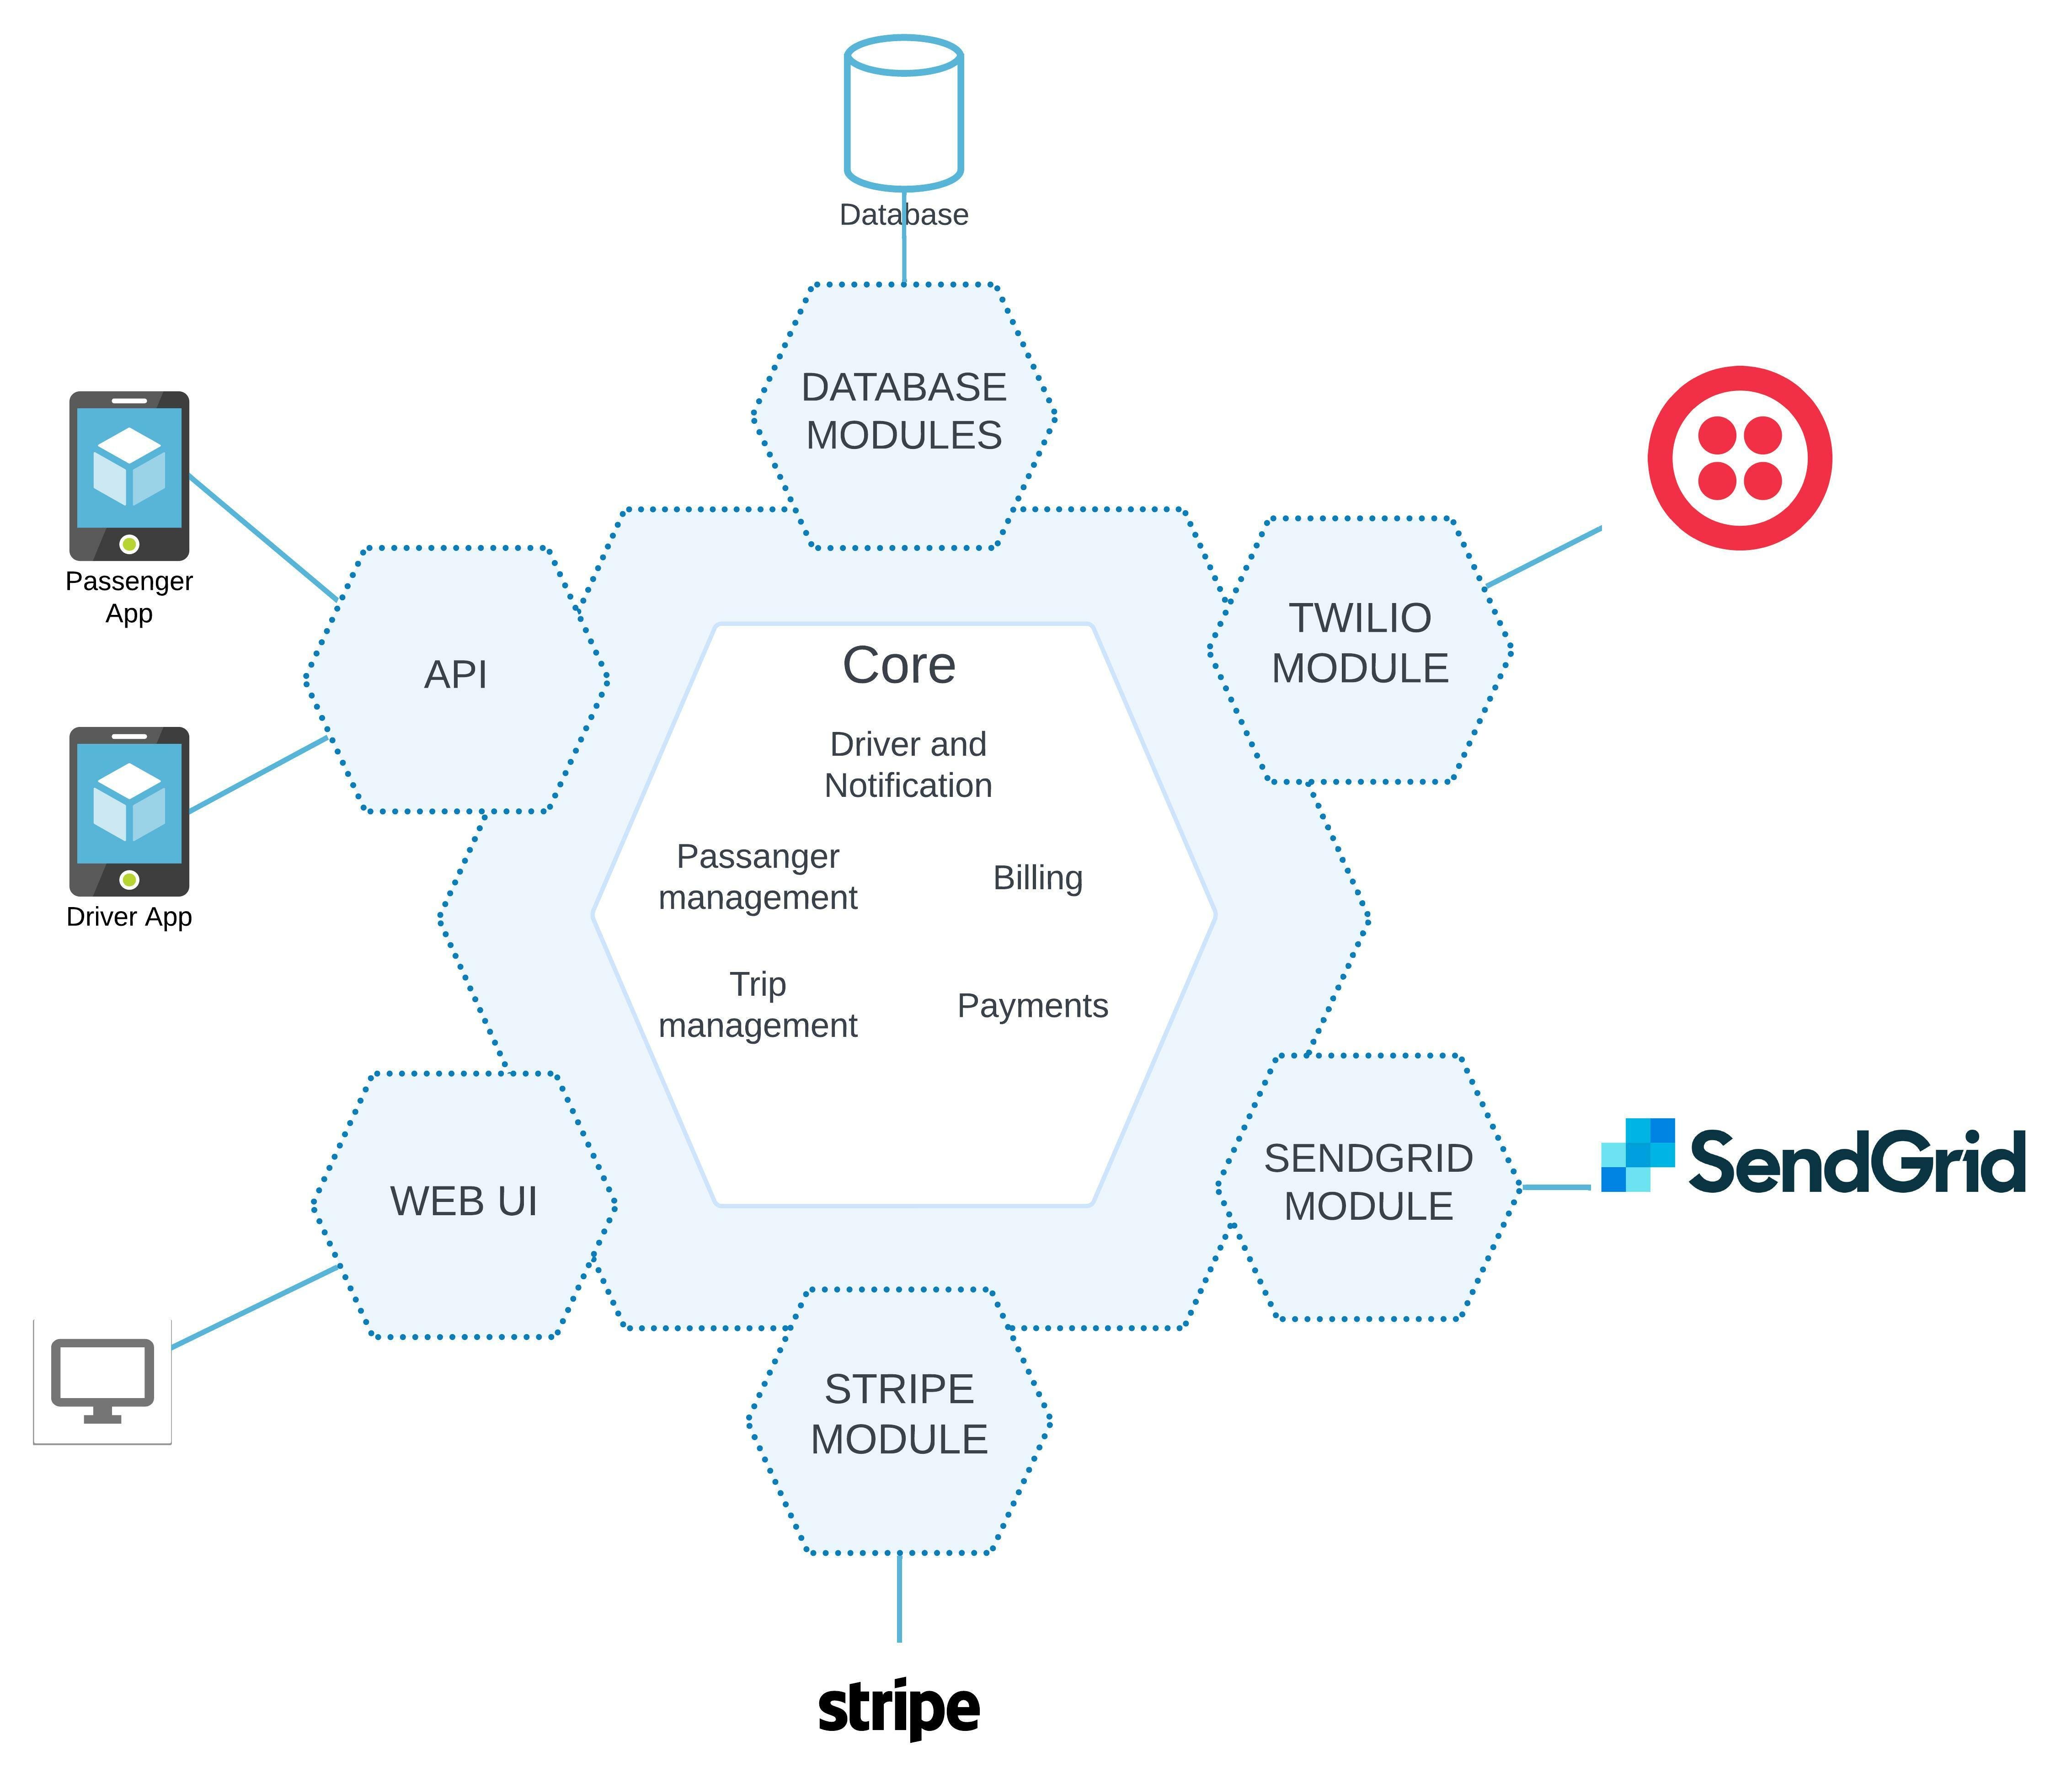
For combo mode, you need a load balancer or Kubernetes ingress and a single database, as shown in the figure above.
Trivy
Trivy is a security container scanner based on the CVE threat database. It can also scan misconfiguration, secrets, and software dependencies. Trivy uses several scanning sources, like:
-
Container image
-
Filesystem and Storage
-
Kubernetes cluster
Trivy can be installed on your PC or in the Kubernetes nodes, using npm, apt-get, brew, and other package managers.
apt-get install trivy

yum install trivy

brew install aquasecurity/trivy/trivy
To execute image scanning you can following command
$ trivy image app-backend:1.9-test
Secret Scanner
The main goal Secret Scanner is to look into the container images, infrastructure as code files, JSON log files for hardcoded and default secrets, passwords, AWS access IDs, AWS secret access keys, Google OAuth Key, SSH keys, and tokens.
To run SecretScanner as a standalone, you should do the following:
docker run -it - rm - name=deepfence-secretscanner -v $(pwd):/home/deepfence/output -v /var/run/docker.sock:/var/run/docker.sock deepfenceio/deepfence_secret_scanner:latest -image-name node:8.11
OpenSCAP
OpenSCAP is a tool that includes complex security auditing options. It allows you to scan, edit and export SCAP documents. SCAP (Security Content Automation Protocol) provides and describes security compliance checks for the infrastructure that is based on Linux.
Open SCAP consists of the following components and tools:
-
OpenSCAP Base- For vulnerability and configuration scans
-
oscap-docker- For compliance scans
-
SCAP Workbench- A graphical utility to facilitate the execution of typical oscap tasks
-
OpenSCAP Daemon- A service that runs in the background
-
SCAPtimony- Middleware that retains SCAP results for the infrastructure of the user
Below you can see an example of how you run the validation process of the SCAP content.
oscap ds sds-validate scap-ds.xml
Kube Bench
Kube-bench is one of the most powerful open-source tools to detect threat and security issues for your Kuberenetes cluster. Its security check is based on CIS Kubernetes Benchmark.
To configure the kube-bench you can use YAML files. I have listed YAML file. You can use it to run the validation process against a single pod.
---
apiVersion: batch/v1
kind: Job
metadata:
  name: kube-bench
spec:
  template:
    metadata:
      labels:
        app: kube-bench
    spec:
      hostPID: true
      containers:
        - name: kube-bench
          image: docker.io/aquasec/kube-bench:v0.6.8
          command: ["kube-bench"]
          volumeMounts:
            - name: var-lib-etcd
              mountPath: /var/lib/etcd
              readOnly: true
            - name: var-lib-kubelet
              mountPath: /var/lib/kubelet
              readOnly: true
            - name: var-lib-kube-scheduler
              mountPath: /var/lib/kube-scheduler
              readOnly: true
            - name: usr-bin
              mountPath: /usr/local/mount-from-host/bin
              readOnly: true
            - name: etc-cni-netd
              mountPath: /etc/cni/net.d/
              readOnly: true
            - name: opt-cni-bin
              mountPath: /opt/cni/bin/
              readOnly: true
…
      restartPolicy: Never
      volumes:
        - name: var-lib-etcd
          hostPath:
            path: "/var/lib/etcd"
        - name: var-lib-kubelet
          hostPath:
            path: "/var/lib/kubelet"
…
Let-s save this document to the file job.yaml and run it with the apply command:
$ kubectl apply -f job.yaml
I have to cut the file a bit. You can find the complete version here.
Threat Mapper
Threat mapper is a complex security solution for Cloud Native applications. It scans your infrastructure cluster components for threats and vulnerabilities. It contains:
-
Secret scanning
-
Generate Software Bill of Materials (SBOM)
-
Infrastructure security and threats visualization
Before we jump into the tool description, I will give an overview of what is software Bill of Materials (SBOM).
SBOM is a combination of all open-source and third-party tools and components that contains your application. An SBOM contains license information of all components. This information is important for quick identification of the security risk.
The threat scanner contains the following components:
-
Management console - is a UI tool that builds a security infrastructure overview and provides vulnerabilities and threats reports.
-
Sensors agents - is a tool that scans your cluster nodes and gathers security telemetry. Sensors agents report telemetry to the management console.
For example, to install Sensor agents to the AKS cluster, you need to do the following:
helm repo add deepfence https://deepfence-helm-charts.s3.amazonaws.com/threatmapper
helm repo add deepfence [https://deepfence-helm-charts.s3.amazonaws.com/threatmapper](https://deepfence-helm-charts.s3.amazonaws.com/threatmapper)
helm show readme deepfence/deepfence-agent
helm show values deepfence/deepfence-agent

# helm v2
helm install deepfence/deepfence-agent \
    --name=deepfence-agent \
    --set managementConsoleUrl=x.x.x.x \
    --set deepfenceKey=C8TtyEtNB0gBo1wGhpeAZICNSAaGWw71BSdS2kLELY0

# helm v3
helm install deepfence-agent deepfence/deepfence-agent \
    --set managementConsoleUrl=x.x.x.x \
    --set deepfenceKey=C8TtyEtNB0gBo1wGhpeAZICNSAaGWw71BSdS2kLELY0
To install the management console in your AKS cluster, you can use the following command:
helm repo add deepfence https://deepfence-helm-charts.s3.amazonaws.com/threatmapper

helm install deepfence-console deepfence/deepfence-console
The installation downloads and install helm package directly to the cluster namespace. It uses two simple commands that allow you to include it in your IaC process.
Threat Detection for Containers
“With the exponential increase in container adoption, it-s more critical than ever for teams to ensure that proper security and threat management infrastructure and practices are in place. This Refcard presents a comprehensive examination of threat detection for containerized environments, spanning several focus areas such as common cloud security architectures and Kubernetes hardening guidelines.”
And central to this Refcard are the fundamentals of container threat detection, including concepts like resource limits, static image vulnerability scanning, configuration validation, and much more.


Comments